Rear rocker box, heads, and cam cover

I was excited to do more work on my bike. Today I spent about four hours continuing to take apart the engine. And later I told Nikola that wrenching is a kind of moving meditation--you get in a zone of mindfulness and the work is quite satisfying. I enjoy gauging the bolt sizes to find the appropriate sized tool. And if the bolt is in a weird place, brainstorming a fix for that, whether it is an extension or adapter for the wrench, or a totally different strategy. The processes are very logical and results-oriented. Wrenching is a kind of mechanical meditation and an engagement of the heart mind and physical selves and breath (can you tell I've done yoga). I envision me and Nikola riding around the island on a Sunday morning, while Buddhi is at doggy playcare.

Initially when we brought the bike to the shop, it was clear it needed lowering so I could be flat footed. But some how it's turned into a much larger project of rebuilding the engine. I won't do it all from scratch, but I want to make sure that the insides are good. And I want to see all of the insides.

Except for several stripped bolts, the engine is looking pretty clean, which is a good sign.

IMG_6979-copy.jpg

The rear rocker box; two bolts sit directly under the frame which prevent me from simply loosening the bolts and lifting it off. (The front rocker box sat much lower under the frame so it was easy to unbolt and remove.)

IMG_6989-copy.jpg

I was hopeful that these two bolts would clear the frame but I quickly discovered they would not. Therefore I had to remove both the rear rocker box and rear head. First I loosened the rear rocker box bolts just enough so there was a bit of give. Then I loosened the bolts to the head (the black ridged component that sits directly underneath the silver rocker box). The head bolts were probably the heaviest I have come across so far--they are usually tightened to about 65 lbs or so. I needed some help and leverage for the initial loosening of the head bolts.

IMG_6995-copy.jpg

The head and the four heaviest bolts. The two springs sitting diagonally are called valve springs. Both heads are constructed of iron—cast iron. Thus the engine name, Ironhead.

IMG_7002-copy.jpg

The cylinder, which sits directly under the head. Inside the cylinder is the piston which moves up and down.

IMG_7004-copy.jpg

I rotated the back tire to turn the engine so both pistons would rise to prevent debris from falling into the cylinders.

IMG_7019-copy.jpg

I put towels over the cylinders.

IMG_7034-copy.jpg

Points which govern the timing for the ignition.

IMG_7044-copy.jpg

The mechanical advance unit.

IMG_7062.jpg

The mechanical advance unit, points cam, and bolts.

Nikola took these while I loosed the allen bolts to the cam cover

IMG_7071-copy.jpg
IMG_7073-copy.jpg
IMG_7074-copy.jpg
IMG_7078-copy.jpg

The cam cover was stuck on, so giving it a few taps with a mallet was necessary before it could be pulled off.

IMG_7080-copy.jpg

Lovely gears!

IMG_7102-copy.jpg

This engine has four cams. From left to right: rear exhaust cam gear, rear intake cam gear, front intake cam gear, front exhaust cam gear.

IMG_7122-copy.jpg

Underneath the rear intake gear is the pinion gear, and to the right of front exhaust cam gear is the idler gear. The gear at the top right is the generator drive gear.

IMG_7109-copy.jpg

Timing marks on the cam gears—the gears need to line up according to these marks so all the valves open at the right time.


Here's a photo recap of parts I took off today:

I. Rear push rods and covers, and the shifter.

IMG_7338.jpg

II. Rear rocker box and head.

IMG_7339.jpg

III. Cam cover and the points cover, case, and panel.

IMG_7336.jpg

Where has the engine gone? It's in pieces on my lift :-)

IMG_7344.jpg

Tearing the engine apart

A few days ago I took the second exhaust pipe and gas tank off. Today I took off the carburetor. Like most Harleys, my bike has just one. The screws for the cover and carburetor required an allen wrench (yet another kind of wrench).

IMG_6804.jpg

I took off the cover which left the carburetor exposed. Then unbolted the component off.

(If you're wondering why the towels are there--important to plug the pukas to the engine so no debris gets inside, which could cause problems in the engine)

IMG_6807.jpg

What the bike looks like with the carburetor, intake manifold, and top motor mount off.

IMG_6814.jpg

Sometimes grunting is necessary for extra torque--like when I rotated the wheel so the engine would turn. Turning the engine causes the push rods to move up and down (this could only be done after putting the bike into gear, which was accomplished by turning the wheel and adjusting the shifter). Needed to manually turn the engine for the right positioning of the push rods so I could loosen them.

IMG_6816.jpg

Cutting edge technology: a wooden clothes pin to hold the push rod tube up while I loosened the top and bottom nuts, after they were turned to the right position. Then I started on the engine. Took off the front rocker box (which sits on the head, which sits on the cylinder).

IMG_6834.jpg

Parts from top clockwise: gas tank, top motor mount (black brackets), second exhaust pipe, carburetor (round unit), ignition coil and spark plugs (yellow tubes which are the spark plug wires), front push rods and their tubes, above that the rocker box, and the skinny tubes to the left are the rocker box oil lines.

IMG_6838.jpg

Close up of the engine, sans the front rocker box, push rods, and everything in the previous photo

IMG_6841.jpg

Mini wrenches

IMG_6849.jpg

Ginormous wrenches

IMG_6878.jpg

Where she's at today

Wrenching

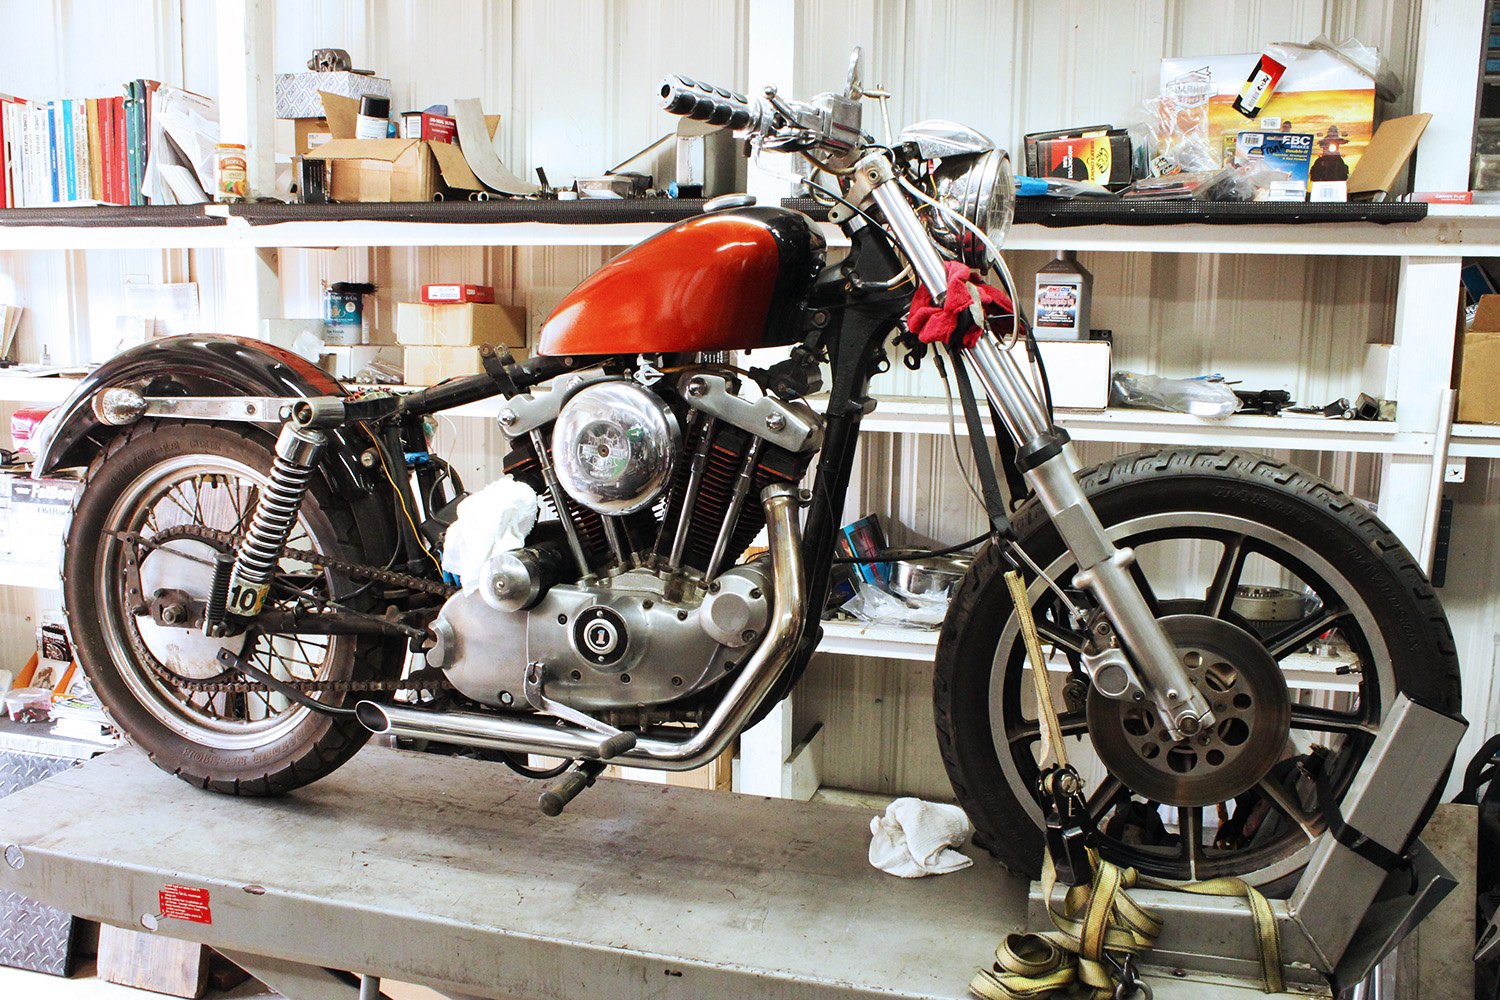
This '73 Sportster sits higher than the newer models (14" rear shocks as opposed to 12"). My feet barely touch the ground. The battery and OEM (original equipment manufacturer) or stock oil tank (which looks very retro so I love) jut out under the (quite wide) seat which further compromises my feet being flat on the ground.

Today I set out to take some parts off of the bike and did some minor wrenching. Looked at the part, the connecting bolts, figured out which wrench to use (varies depending on the location of the bolt). I was surprised at how many fancy wrenches there are (box end, 1/4" drive, 3/8" drive, rachet) and the multiple ways a bolt can be wrenched off.

edited IMG_6526.jpg

I started with the battery, which must weigh about 20 lbs. The oil tank followed and I needed to drain it first. That took a ton of weight off. I then took off the seat, the front fender, one of the exhaust pipes, and finally the little license plate bracket.

[My husband, a proficient mechanic, was on hand if I needed to ask him a question]

I quickly learned that it's important to keep track of the bolts. They can easily get mixed up, so best that once the part is off, to put each respective bolt back in its puka.

edited IMG_6530.jpg

Here she is, minus all the parts, looking pretty sweet. Got some ideas for an oil tank and a seat. Gonna change the shocks out (current ones are 14" eye to eye) to shorter ones so the bike sits lower so I can be flat-footed for comfort and safety.

My husband is an excellent mechanic and creative parts fabricator but I've decided that I will do all the work on this bike. I feel like I need to know its insides and outs. Of course I'll have to consult with him especially when it comes to the mechanical, engine-related work [which I know just from watching him can get extremely complicated, especially on old bikes], or fabrication [which he will likely do], but I'd like my hands to do all the work. I haven't ridden this bike yet because first I'm going to tear it apart.

Taking her home

Today is Monday, February 4th. It's my birthday. I was expecting dinner and some Vans checkerboard slip ons, but I got a 1973 Harley Davidson Ironhead Sportster instead.

The bike was listed on Craigslist for a couple of months and when the owner lowered the price, my husband and I went to look at it. Luckily my husband is an experienced mechanic and checked the bike thoroughly; after doing so we started the negotiation hundreds lower then we had planned because the gas tank liner is peeling, the shifter isn't working properly, the tires are hard, the chain needs to be changed, and we need to lower the bike. The owner agreed, and we took her home.

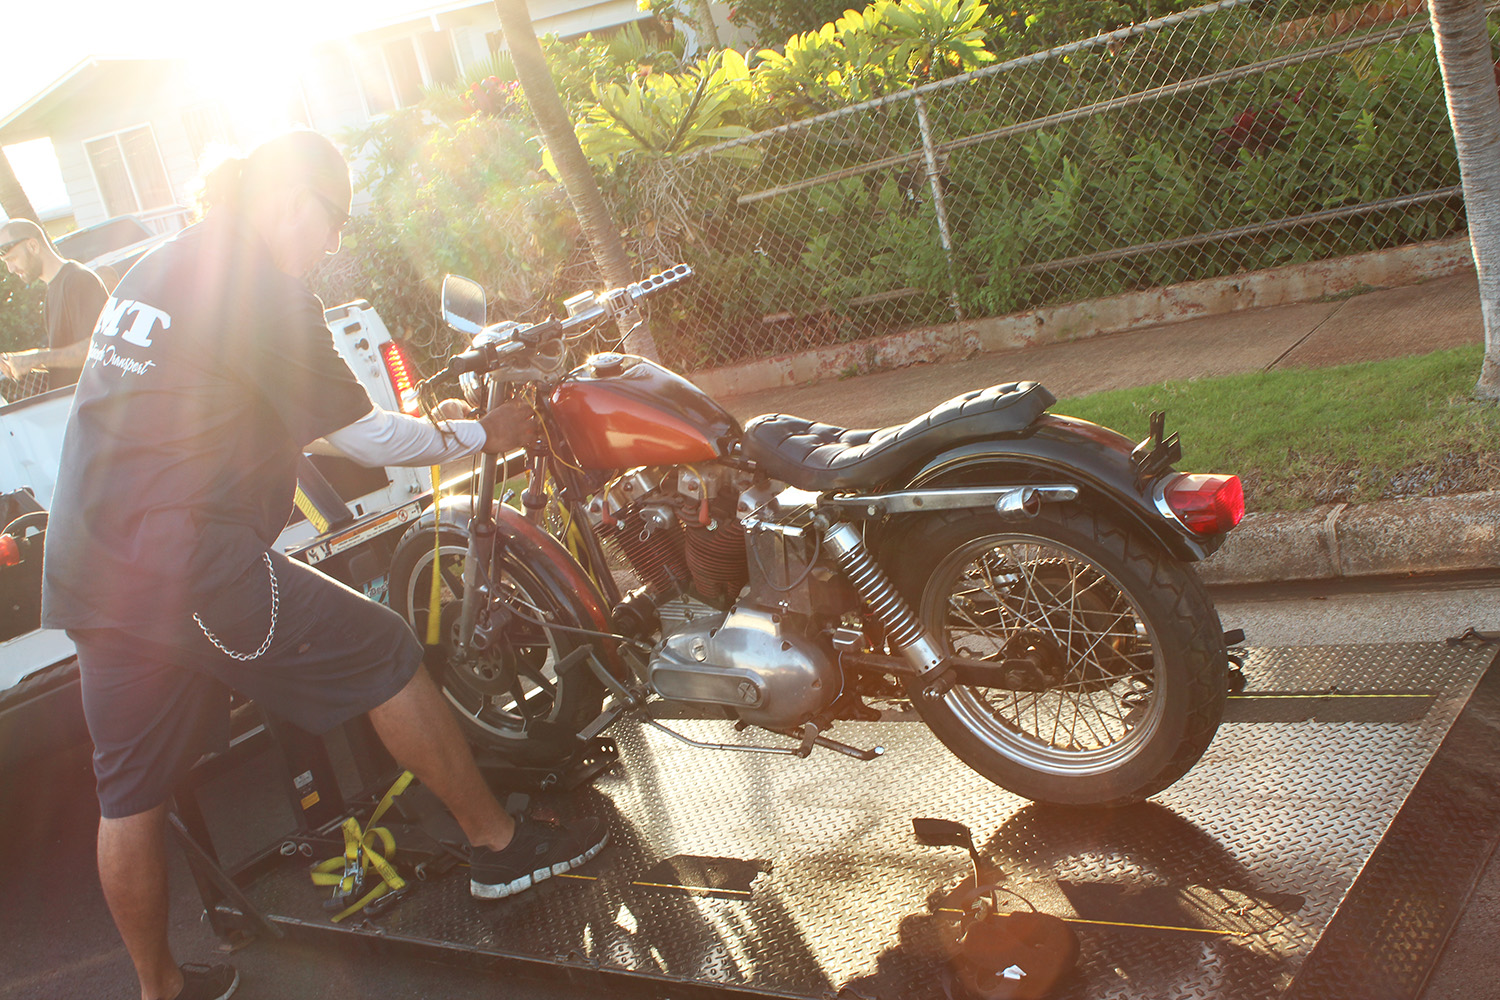
Our go-to motorcycle tow company is Confer Motorcycle Transport. Paul tricked out his Ford F-150 with a nice hydraulic lift that is able to lift and hold motorcycles securely and safely. He's pretty much the only guy on the island with a set up like this, and we've trusted him with clients' bikes for years.


Golden light from a west side sunset, a good sign, as our friend and tow professional, Paul, loads her up

Golden light from a west side sunset, a good sign, as our friend and tow professional, Paul, loads her up

Hydraulics always impress

Hydraulics always impress

Right side

Right side

Left side

Left side

Shocks are too high

Shocks are too high

On the lift and ready to for some work

On the lift and ready to for some work